How to Face Swap in AI Boost for Better Result
Replacing faces in photos can enhance your images for various purposes, from personal projects to professional presentations. This article provides practical recommendations for selecting photos and adjusting settings within AI Boost, helping you achieve seamless face replacements.
Choose High-Quality Images
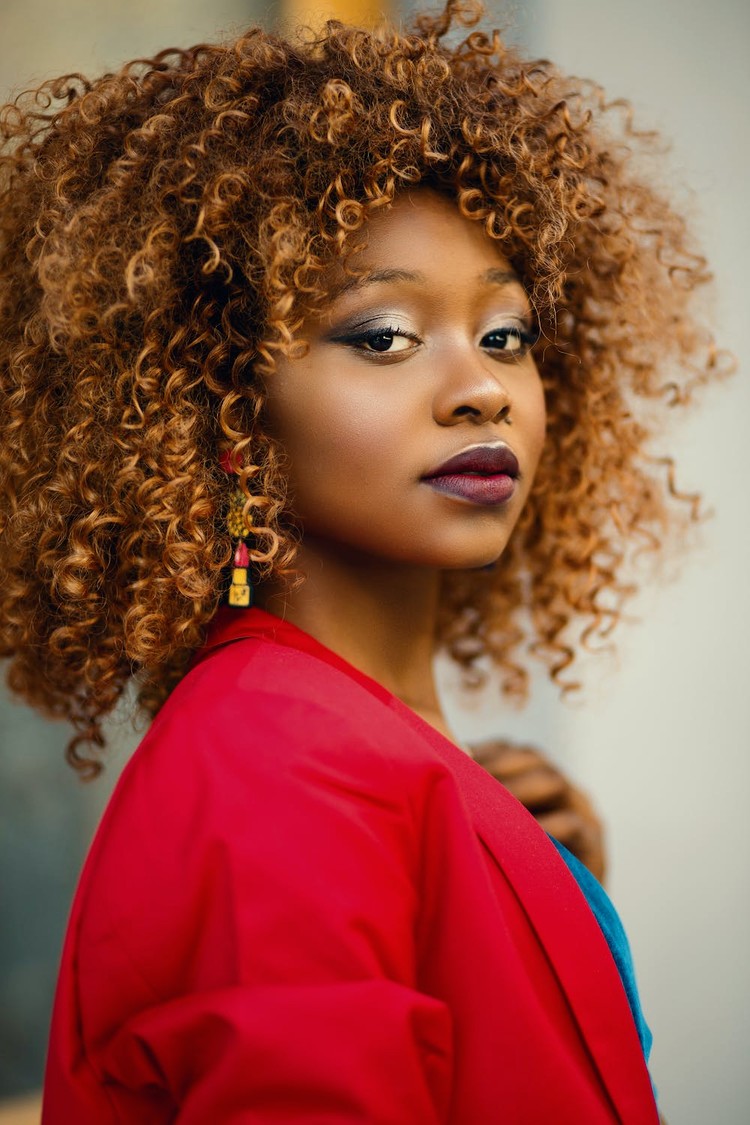
Begin with high-resolution images that are well-lit. Images with clear facial features and minimal background distractions give better results. For example, a bright, evenly lit portrait will allow AI Boost to accurately capture details during the face replacement process.
Consider Angles and Expressions
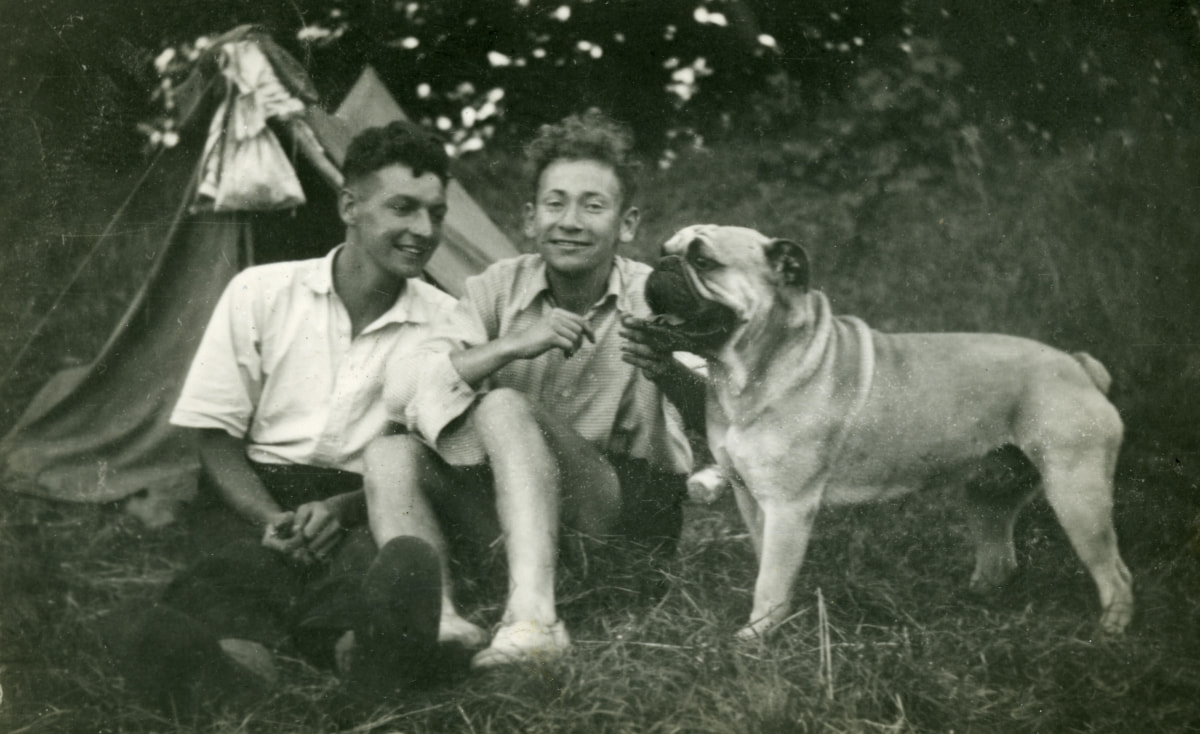
When selecting images for face replacement, ensure that the subject's face is clearly visible and facing the camera. Consistent angles between the original face and the new face will help create a more natural blend. For instance, if you are replacing a face in a group photo, choose a new face that matches the angle.
Use AI Boost Face Swap and Background Removal
- Face Swap Tool: This feature allows for seamless integration of new faces into existing photos. Select a face that matches in size and orientation to ensure a realistic outcome.
- Background Removal: If necessary, use the background removal tool to isolate the subject before applying the new face, which can help maintain focus on the primary elements of your image.
Adjust Settings for Realism
After replacing a face, fine-tune brightness, contrast, and saturation to match the overall tone of your image. Use AI Boost’s enhancement tools to restore clarity and detail, ensuring that your final product appears professional.
High-quality images, proper angles and fine-tuning settings for realism allow you to swap face in the photo more efficiently. AI Boost simplify this process while ensuring high-quality results.


